How to Partition Dell Laptop Hard Drive

Dell laptop is on sale now in Microsoft Store, you can get the lowest of price of the season in this page.
Hard drive capacity starts from 1TB while SSD goes from 256GB, and Dell computer doesn't come with easy to use partition software, how to partition Dell laptop Hard Drive or SSD then?
For most of us, we'd like to partition disk to 4 volumes, for a new disk we can create new volume in Windows Disk Management, here's how it works:
- In Disk Management of Windows 10, (Big sale on this Dell laptop this season are all installed with Windows 10, almost Windows 10 Pro defaulted); Right-click on one big partition and select Shrink Volume;
- Wait for a while, and you have unallocated space created, now, right-click it, and click New Simple Volume;
- Follow new simple volume wizard, customize each volume, and repeat this step to create up to 4 volumes;
Problem in this method is that, when shrinking volume in disk management, it will give you a default size on how much capacity you can shrink, of course you can shrink smaller than the advised size, but when you want to shrink more, errors will show. Besides, when we want to resize partition in some other day, Disk management won't do it as easy as it mentioned in "Extend Volume" and "Shrink Volume", we may always meet the limitations.
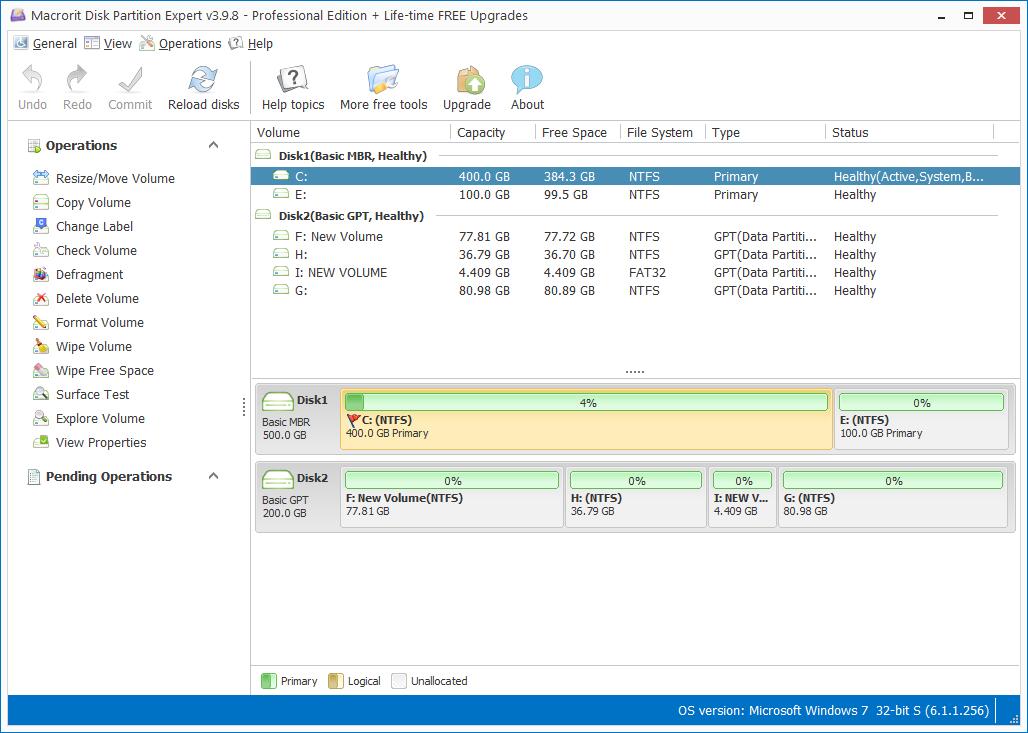
Third-party partition manager, on the other hand, gives you all the right to resize partition freely, you can move free space from here to there, or extend volume to solve low disk space problem when system partition runs out of space; you can also do other things in Partition Software to improve system performance without data loss. Let's start with partition Dell laptop hard drive and check how this software behaves:
- Download portable edition of this partition software is a good choice when you don't want to install this program, Run it;
- Click one large sized partition on the new disk and click Resize/Move Volume, yes, we resize and move volume function are built into one button, so we can extend, shrink and move partition with ease in one window;
- Different from Disk Management, we build two handles on each side, drag each of them inward to shrink and outward to extend; this time, we'll shrink it;
- Click OK and this window closes, we then right-click on the unallocated space, and click Create Volume;
- Define details to the new partition and repeat it to create other partitions;
- The final step is to click Commit in the main window and all the operations will take effect.
- Published in Help
