How to use Data Wiper
Check the links below to use Data Wiper efficiently
How to securely wipe file(s) and folder(s)
Specifically, this is to wipe files and folders in the Recycle bin, so we can first delete the files and folders you’d like to remove and use the function Wipe recycle bin like this:
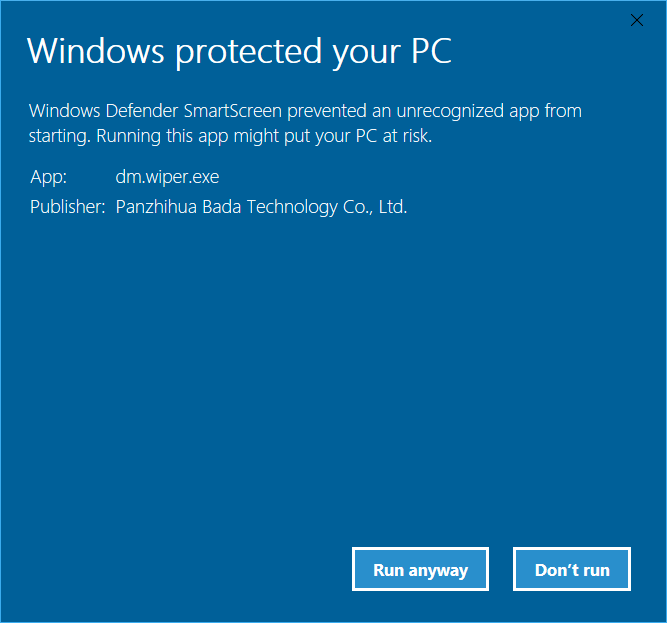
1. Run Data Wiper and click Yes to the UAC dialog, if this is the first time using Data Wiper, Windows will ask you permission for running this data cleaning software, just click Run anyway to continue
2. In Data Wiper we choose the Recycle bin option in section 1 and items in the recycle bin are listed in the window below, all items are selected by default, of course you can deselect all and manually filter them again, we’ll assume all files are targets, then
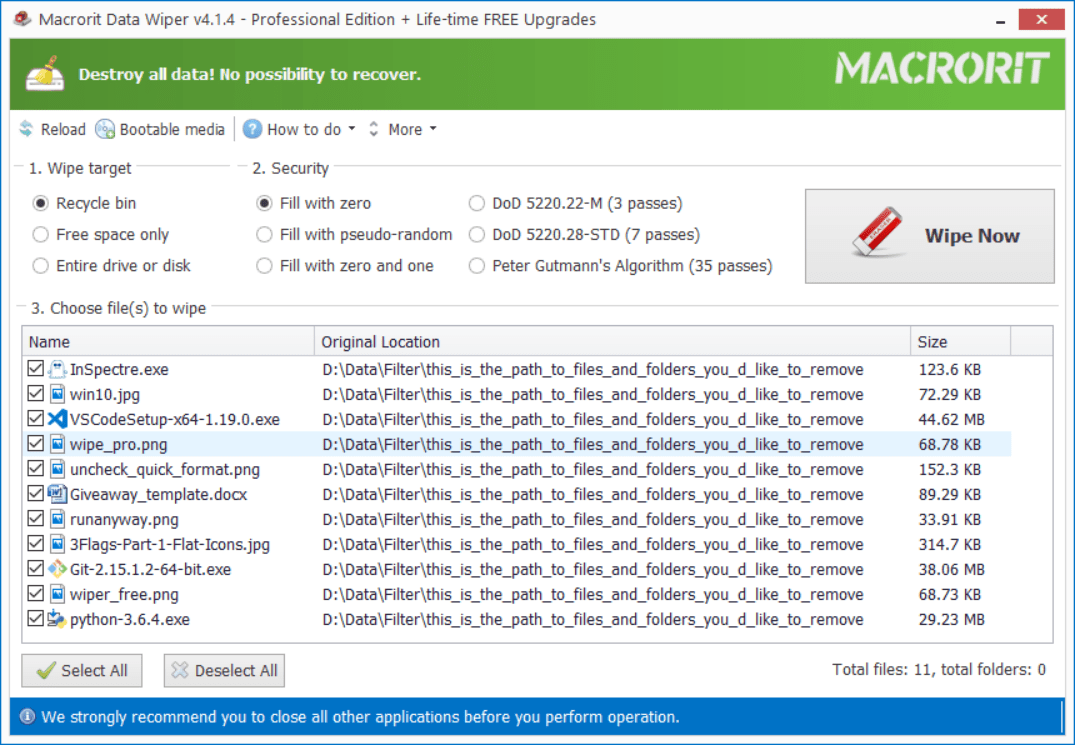
3. Choose a wiping method from the section 2, you can hover on each option to see detailed explanation or just check introduction page to learn more. By default, we use the Fill with zero overwrite method
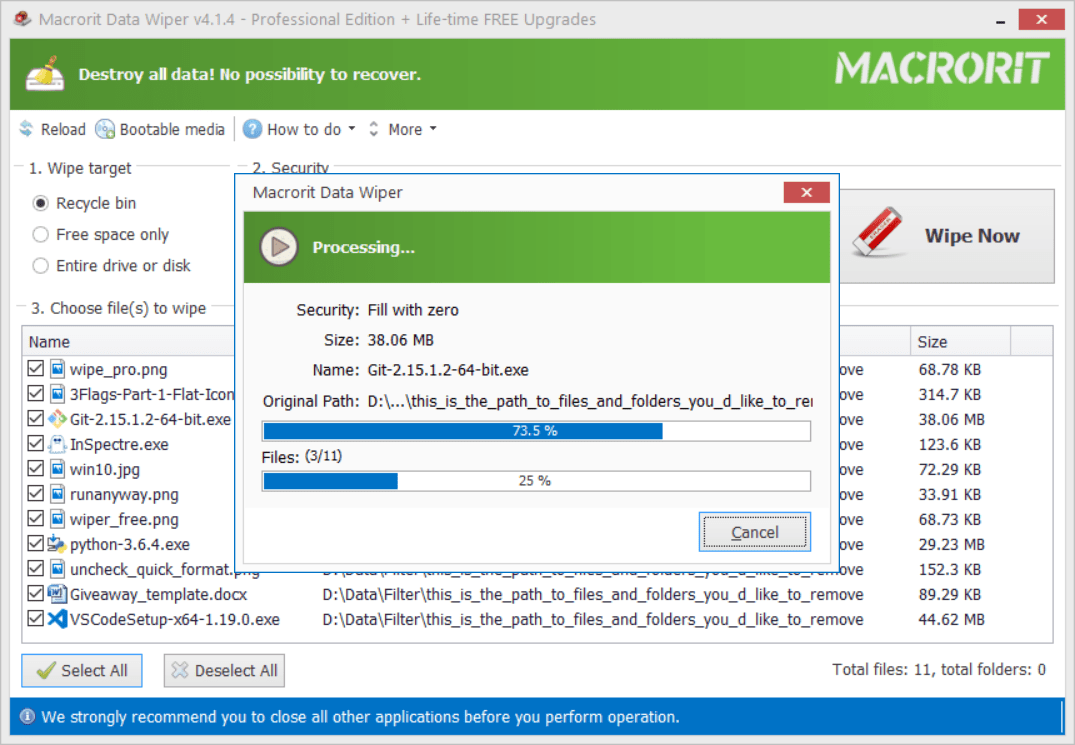
4. Then click the Wipe Now button, confirm when prompted and Data Wiper will start to wipe clean the selected items with really fast speed.
Why don't we just directly wipe files and folders?
Some system files and files that are in use cannot be deleted, if they’re deleted by force, the operating system may fail to reboot or even crush. However, files and folders in the recycle bin are safe to erase, wiping items from here will do no harm to the system
That’s why we add the Wipe recycle bin function instead of simply adding Wipe files and folder function, although most of the users wouldn’t touch the system file, we still don’t want to provide a function that has the access to it
If wiping the entire system is indeed the purpose of using this data destruction software, check the Wipe system drive section for detailed info
How to securely wipe free space
When we deleted a file, Windows just remove the reference to the file but leave the content in the free space, with the function Wipe free space in Data Wiper, we can wipe all the contents left in there. You can also use this function after emptied recycle bin to make data clean, here’s how to wipe free space in Data Wiper:
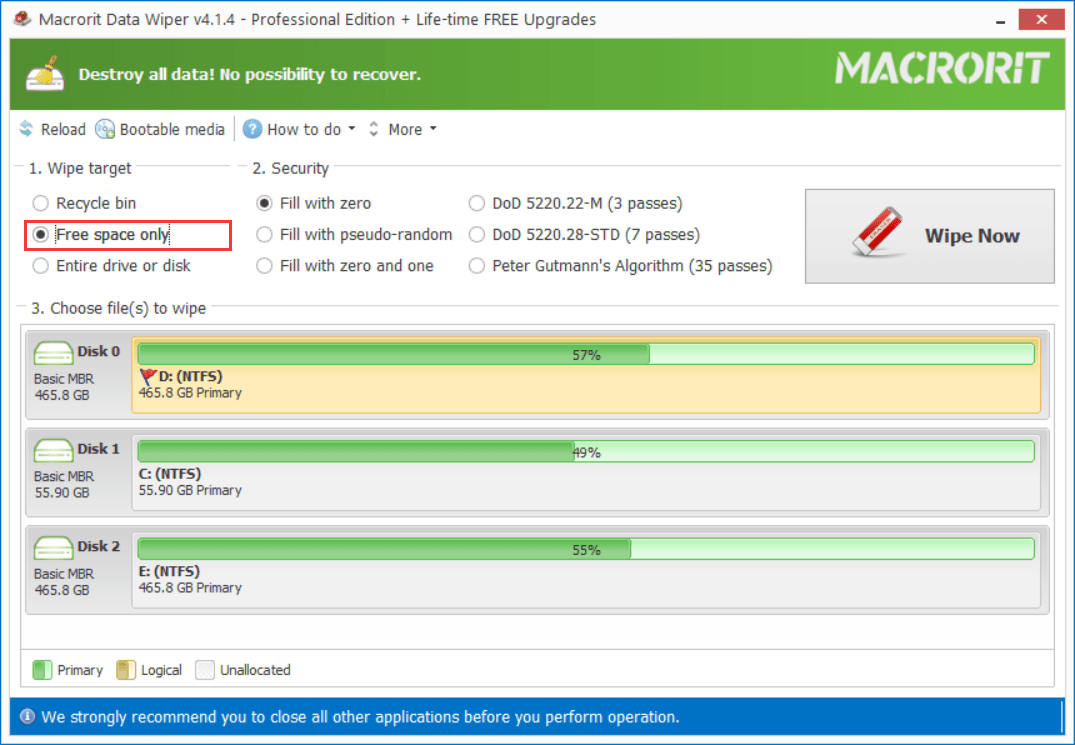
1. In the main interface, click the Free space only option and click on the partition you’d like to wipe free space on, then choose a wiping scheme from the listed 6 types of overwriting methods, or just use the default method.
2. And click the Wipe Now button, confirm and Data Wiper will begin to wipe free space on the target drive
Tips: Wipe free space is safe to use, it does no harm to the system or other in-using files and programs, you can wiping free space and working on the computer at the same time
Note: The option is only available for partitions not disks
How to securely wipe entire drive or disk
This option is for wiping the entire drive (partition), disk and even the unallocated space (not free space), it will wipe out everything of the target, include file-system, partition table, files and folders (both references and contents)
Steps of wiping entire drive or disk:
1. Click on the Entire drive or disk option in section 1 and then click on the target drive or disk, choose one wiping method in the Security section and click the Wipe Now button

2. Now Data Wiper will detect the drive and show according warning, if the target drive is the system drive or contains boot sector, Wiper will show the following message:
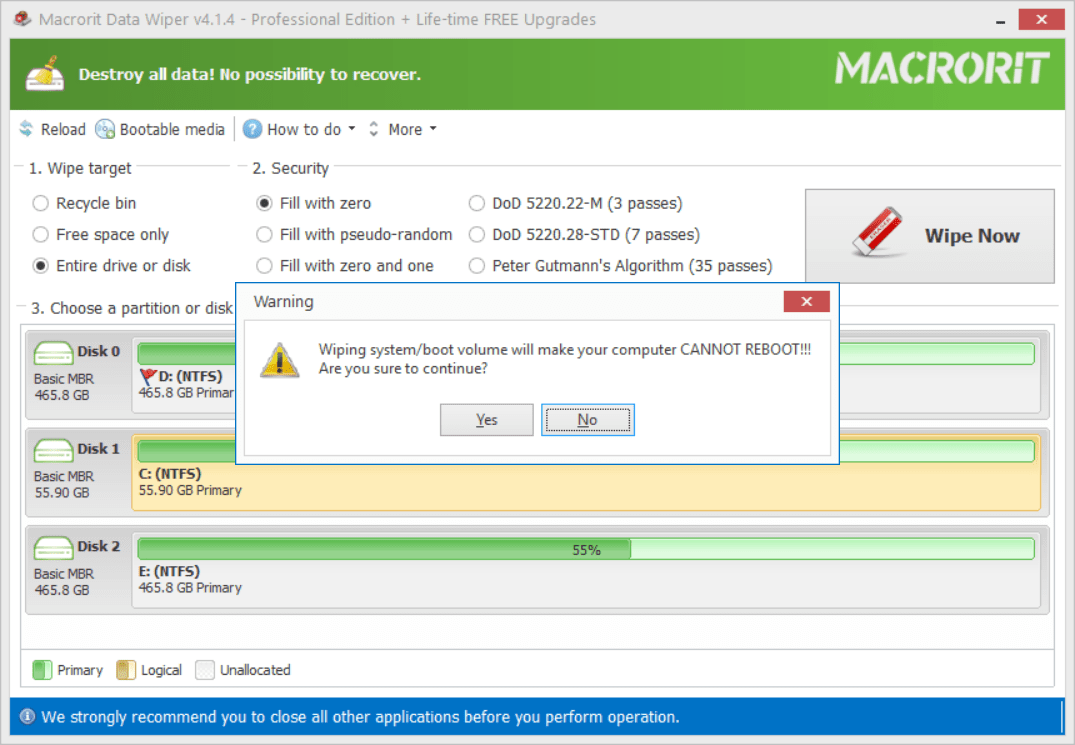
Confirm and you’ll see this window, which is also the window for normal data partition or disk wiping, and Wiper requires the command to wipe, just type WIPE in the box and click
Start to begin the process
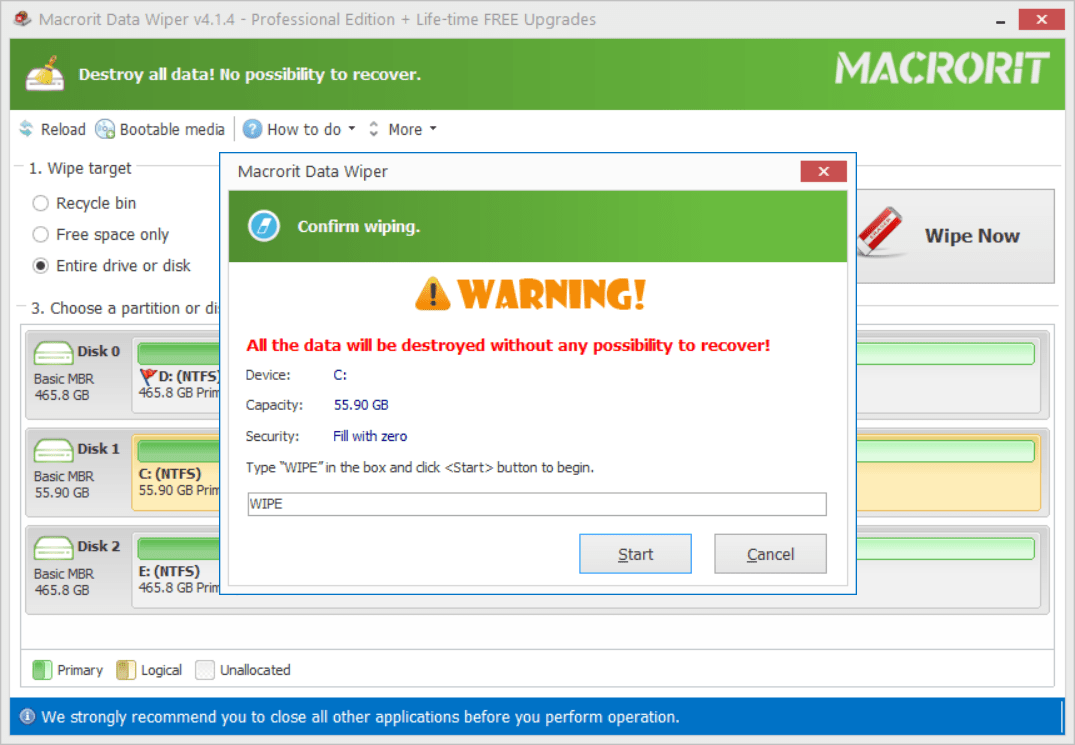
WIPE to confirm How to securely wipe system/boot drive
To wipe the system volume, we need a Pro license, and there’re two ways of wiping system volume:
- Directly wipe system volume when Windows is running
- Wipe system volume in WinPE before booting into Windows
Directly wipe system volume when Windows is running
Download the Pro + Edition of Data Wiper, activate it and choose the
Entire drive or disk option, click on the system volume and define a wiping method, then click
Wipe Now, confirm to the warning message and Type WIPE to wipe out the system, and the operating system is killed, won’t boot again
WIPE commandWipe system volume in WinPE before booting into Windows
Before we booting into WinPE, we need to create a bootable media on a USB or CD, we can use the Bootable media to do so, click the option like below:
and follow the guide on how to create bootable Data Wiper

What are those data wipe methods
Those data wiping methods are
- Fill with zero (1 pass, quick)
- Fill with pseudo-random (1 pass, quick)
- Fill with zero and one (2 pass, slow)
- DoD 5220.22-M (3 passes, slow)
- DoD 5220.28-STD (7 passes, very slow)
- Peter Gutmann’s Algorithm (35 passes, super slow)
Here's the compare table of these 6 kinds of wiping methods
What does bootable media do
We recommend to use bootable media for boot disk or system drive wiping, it’s graphically designed, easy to understand and use, within few clicks we can wipe data clean
Tutorial: How to create bootable media
"Wipe Now" button is not active
Some user find the "Wipe Now" button is not active after chosen the wiping method and wiping algorithm, in fact, there's one more step before we active this button, that is to click on a partition or a disk, the target partition or disk has a yellow background like the screenshot below:

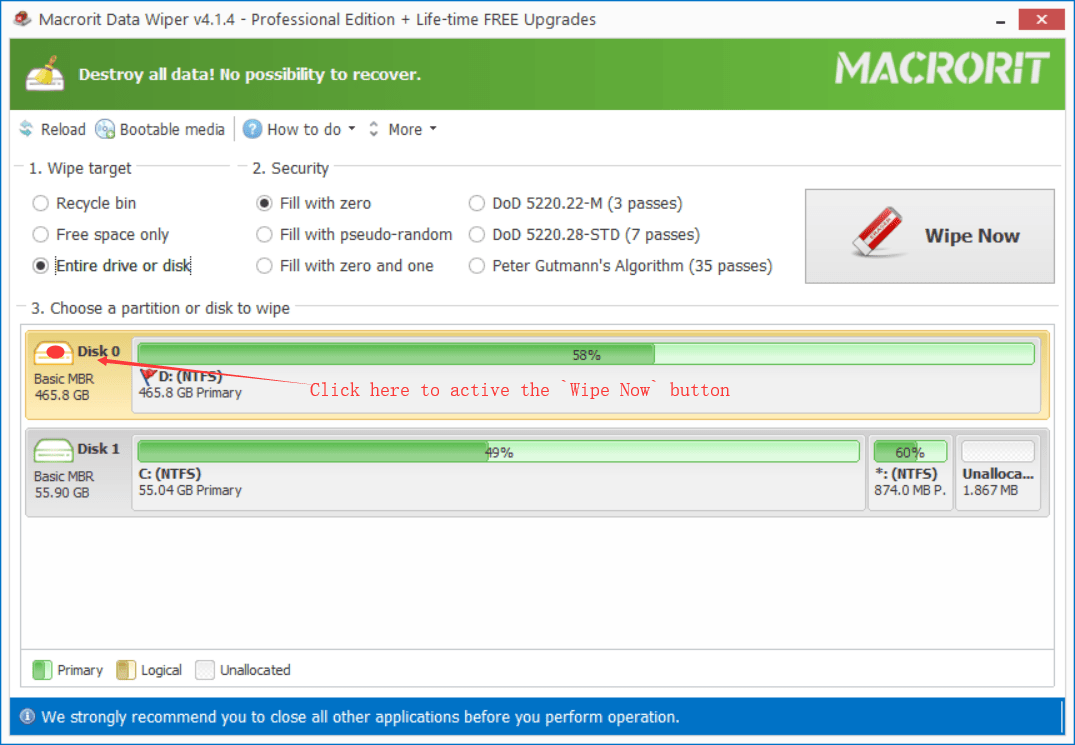
In the diskmap of Data Wiper, partitions, disks, unallocated space are all click-able, to be more specific, when you choose the "Free space only" function, partitions with drive letter or without letter are click-able; when select the "Entire drive or disk" function, disks, partitions and partitions without drive letter are click-able
Try the demo below to active the "Wipe Now" button, click Disk 0 or Disk 1 in the screenshot below and move out the mouse to try again
Supported file systems and disks
Data Wiper supports:
- Windows file system: FAT/exFAT/NTFS/ReFSNEW
- Apple file system: HFS+
- Linux file system: Ext2/Ext3/Ext4 and Unix UFS file systems
It also supports various Input/Output interfaces:
IDE, USB, SATA, eSATA, SSD, SCSI disks, LUN, RAID Disk Array.