Install Windows 10 on GPT disk and boot to UEFI
GPT or MBR? Boot to UEFI Mode or legacy BIOS mode?
As for Windows 10, it’s better to use GPT disk and boot to UEFI mode for flexible partition managing and more security features
To be more precisely:
- The GPT disk has no partition limitations, you can create as many partitions as you want, but on MBR disk, you can only have 4 primary partitions, the fifth partition, if you’d like to create, has to be created on an extended partition, and has to be a logical drive, which force us to convert one primary partition to logical, and in Disk Management, we can’t make the conversion without losing original data
- The maximum supported capacity on MBR disk is 2TB, which means if the disk you’re using is 4TB, only the first 2TB can be used. BUT the GPT disk has no such limitation
- UEFI mode provides faster boot and shutdown speed with additional security advantages
In order to make sure Windows 10 successfully install and boot to UEFI mode, we need to make sure the following conditions are True:
- The Disk is GPT style (use diskpart command to confirm)
- UEFI USB bootable ISO file (use Rufus to create)
- Boot mode set to UEFI (set this in BIOS)
Check if the disk is GPT
Insert the Windows 10 installation media and reboot, press Shift+F10 to open the command prompt tool after the install screen shows
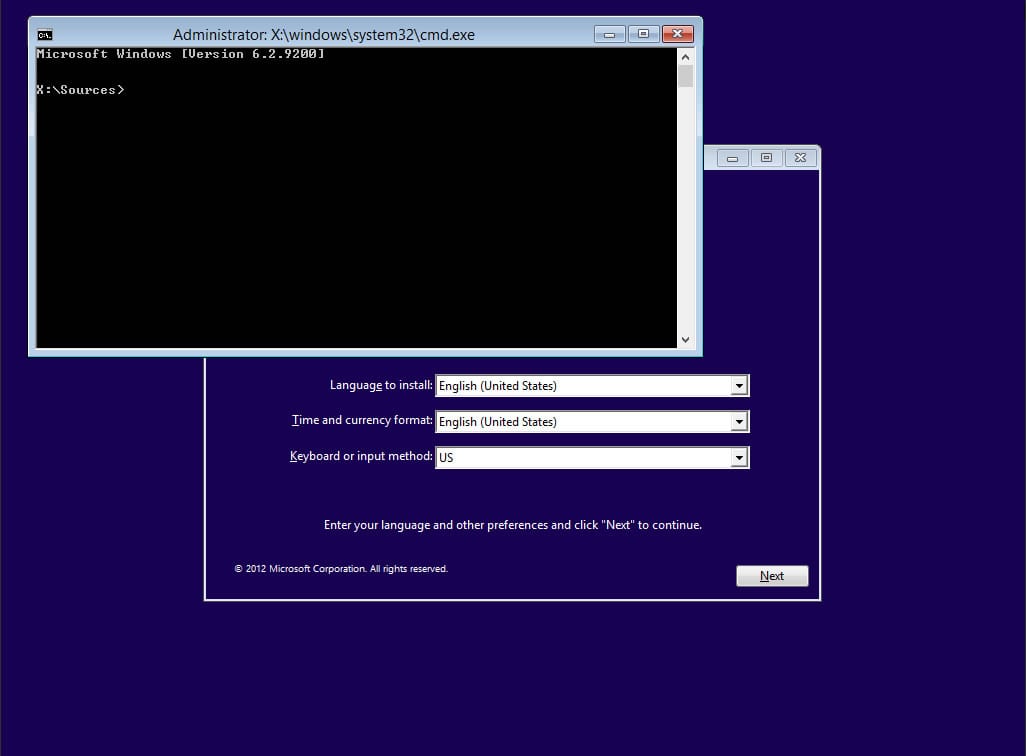
Then type the following commands to check:
- list disk
- select disk 0
- clean
- convert gpt
If the listed disk has an Asterisk under the “GPT” column, it means the disk is currently GPT style, that’s what we want.
You can do this step after we created the UEFI USB boot ISO file in Rufus if you don’t have the Windows 10 install media right now
Note: the clean command will remove everything from the disk
Create UEFI USB bootable ISO file
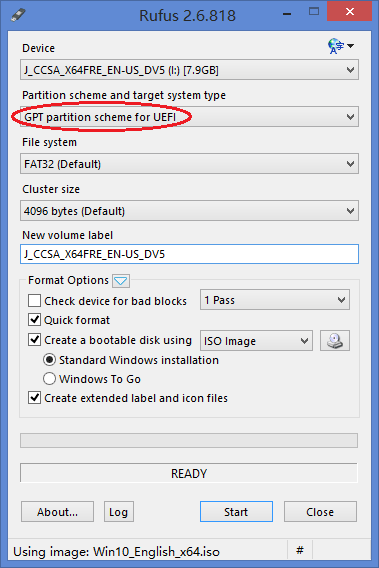
Download Windows 10 ISO file from the official site on another computer, download Rufus, run it and in the main interface choose “GPT partition scheme for UEFI” from the ‘Partition scheme and target system type’ drop-down list, then select the ISO file and click “Start” to burn
Change BIOS setting
Plug in the USB device and boot from it, make sure the boot mode switched to UEFI
When PC reboots, there’s a prompt saying press the corresponding key (F2, F10, F11, F12 or check the different ways of access BIOS guide to enter BIOS), then on the boot device menu, select UEFI: USB Device instead of BIOS: Network/LAN

If the device you’re using only support one mode, then activate the UEFI mode requires the security features be disabled, we can manually operate this by navigating to the Security tab and disable it in the Secure Boot option
Then Save the changes and reboot, now we can have a clean install of Windows 10 on a GPT disk and boot to UEFI mode
Tip:
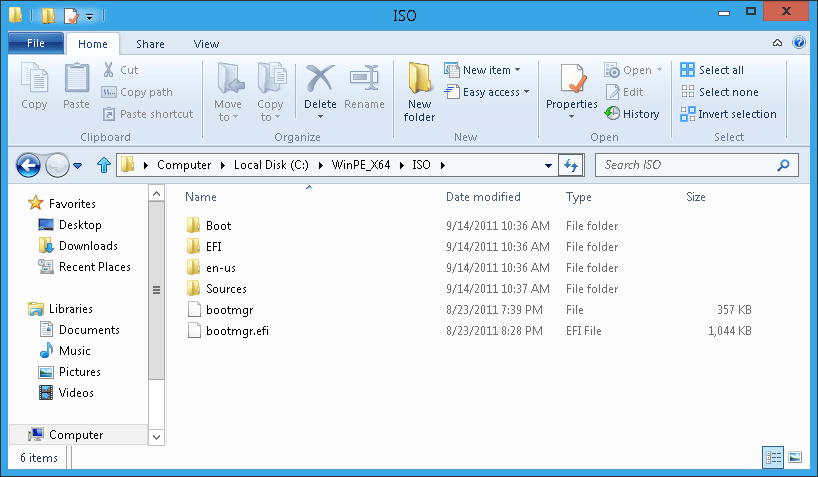
Microsoft suggests us to remove the bootmgr file if we want to boot only when in UEFI
mode from the root of Windows PE or Windows Setup media
Related Topic:
Other Utilities