Run Windows 10 from USB drive on a Macbook
Reddit user whizkid56222 shared how to run Windows 10 from an 128GB Samsung EVO+ 25MB/s Write and 80MB/s Read on a Macbook Air, here’s the detailed installation guides, you can have a try if you have work staff on Windows but want to use Mac system, steps are easy to follow, only time spends on this may vary, based on the device’s read and write speed.
There’re “format” and “create” partitions in this tutorial, which are given in disk part command line, I do want to recommend the alternative method for this part, using the graphically designed partition manager Partition Expert to do the same job, of course, the Free Edition is well enough to perform those operations.
Format and Create Partition in Partition Expert
Step 1 Download Partition Expert the Portable edition, unzip it and you can see there are both 32-bit and 64-bit packages, run the corresponding edition directly from the package, and Partition Expert will load the disk map in the main interface in seconds (don’t have to type ‘list disk’ in diskpark tool, it auto loaded), the USB drive you plugged-in is always at the bottom of the map
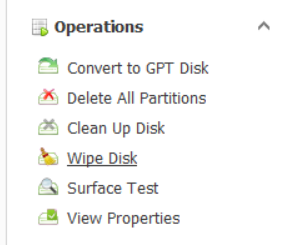
Step 2 Click on the disk (performs list ‘select disk’) and click on the function ‘Clean up disk’ from the sidebar or the right-click menu (works the same as ‘clean’ command in diskpart), alternatively, you can use the ‘Wipe Disk’ function in Partition Expert, only takes longer time than ‘Clean up’ disk, since this external drive is will still be used later by ourselves, we can also use the ‘Delete all partitions’ function, which is much faster than the previous two function
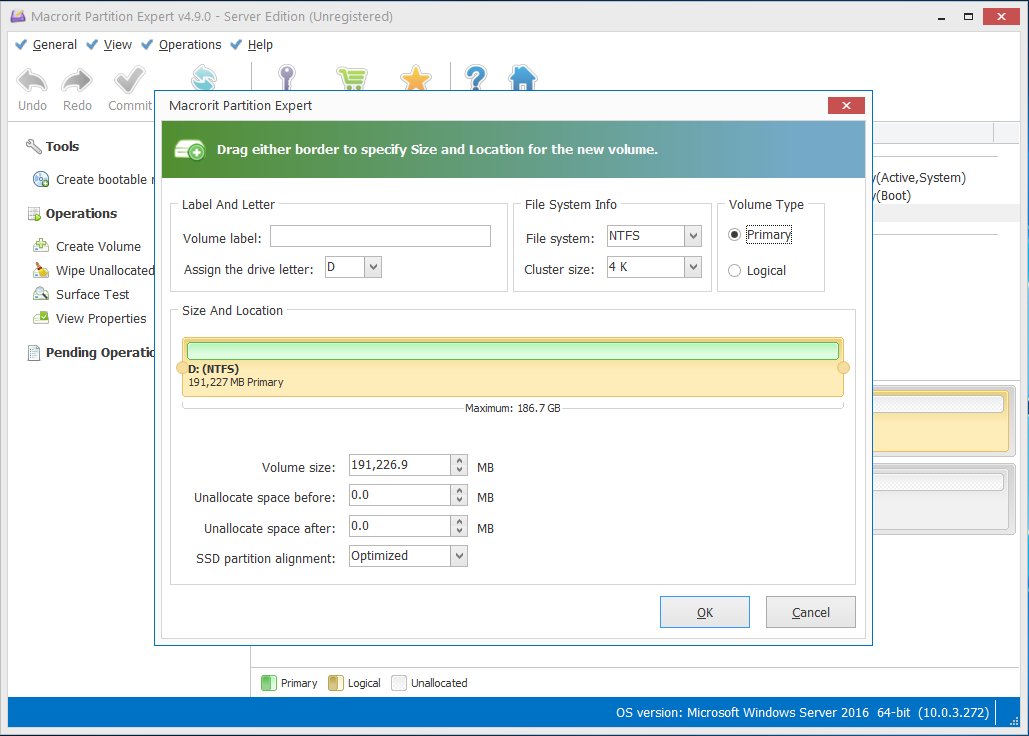
Step 3 Then click on the unallocated space and click ‘Create Volume’ function and Partition Expert will open up a new window to list detail info about the partition you’re about to create: Drive label and letter, File system info, volume type, size and location. In this guide, Drive letter is suggested to ‘Z’ (this step works like command ‘create partition primary’, ‘format fs=ntfs quick’ ‘assign letter=Z’ in diskpart)
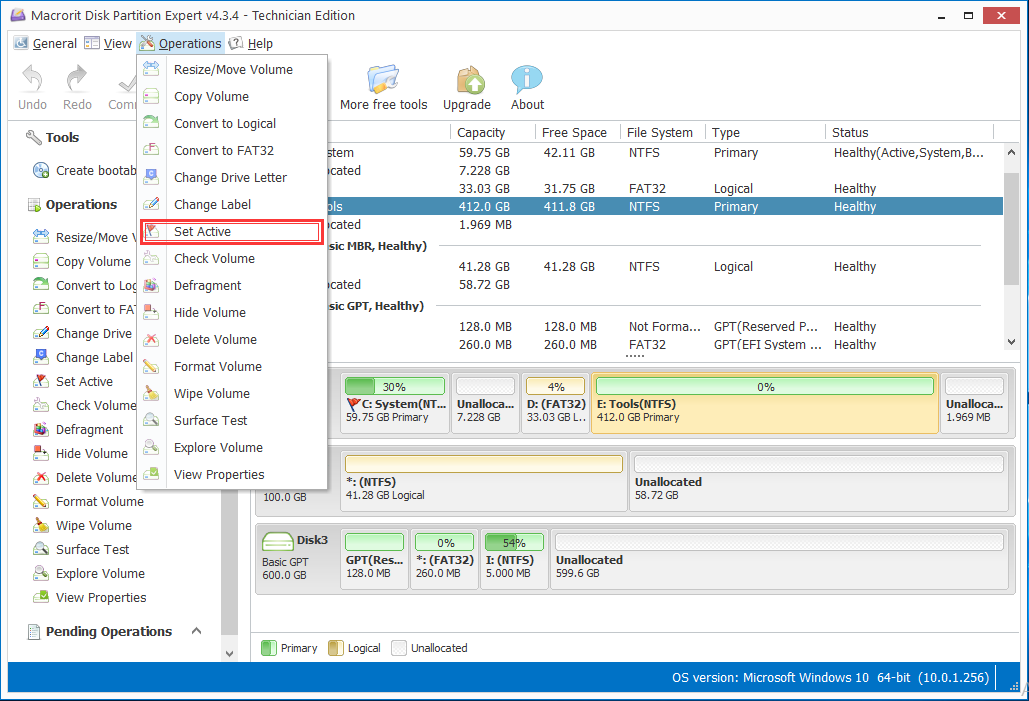
Step 4 And finally click on the partition we just created and choose ‘Set active’ function, click Yes to confirm and don’t forget to click the ‘Commit’ button at the top so Partition Expert will run all the pending operation and active the new formatted partition (Works exactly as the command ‘active’ in diskpart), or check this guide to set active partition from diskpart command link
That’s it, that’s the partial steps we can use Partition Expert to help on running Windows from SD card on a Mac computer. Although the author of the uses SD card, it is recommended to use USB HDDs/SSDs with USB 3.0 port instead for better performance, many users had commented out that