Windows 10 Low Disk Space Problem
Table of Content:
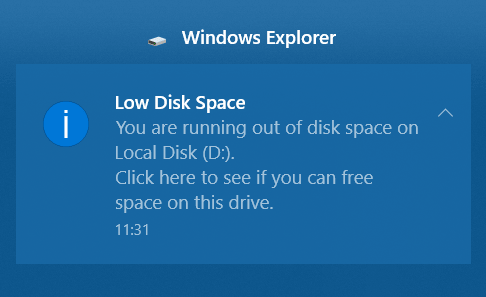
When some partition in Windows 10 is in low disk space, Windows 10 will pop up a message at the corner to inform you that the disk is running out of space, which will eventually result in slow response on read-write speed. In this page, we’ll guide you how to fix this problem with the default method and the help of partition manager software
The default solution
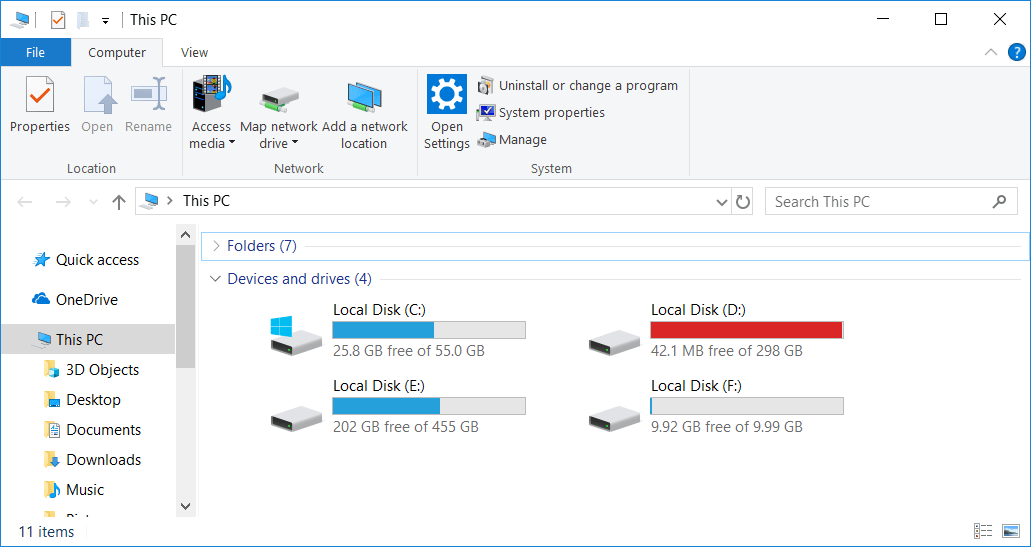
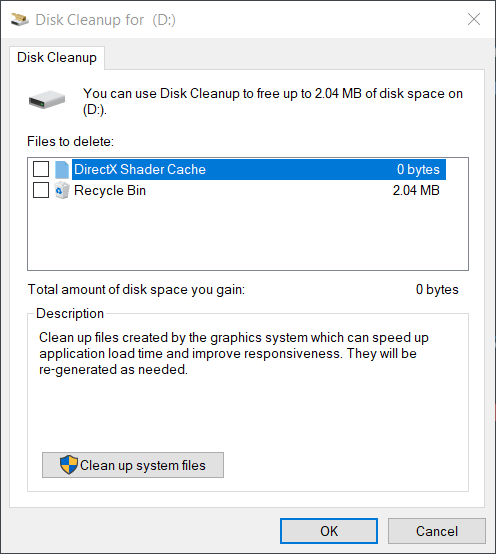
The warning message says: ‘You are running out space on Local Disk (D:). Click here to see if you can free space on this drive.’, so we click on the message, and press ‘Win+E’ at the same to open Windows Explorer, indeed, my D: Drive is red bar, and I can feel that my laptop is getting slower and slower at every click and file editing, so I checked the ‘Disk cleanup window’, it says I can free up to 2.04MB of disk space on this drive…I guess that’s because this drive has no temporary and redundant files for this program to clean up.
I closed out this window and navigate into this drive, only to found no files or folder is deletable, all of them are required for work, so I think the clean up to get free space method just doesn’t suit me, I definitely need to find an alternative way, maybe extend this volume?
Back into the root window of Windows Explorer, the F Drive caught my attention, it’s an empty drive, maybe I can use it to solve the low disk space and low response speed problem, how about merge it or use it to extend D Drive?
Merge Volume to extend another partition
Windows 10 has no function to merge a volume to another, so I turn to a third-party partition manager, Partition Expert, ‘Merge Volume’ is a built-in wizard, besides, it’s portable, which means I can directly run it without installing it to system
Steps to Merge Volume in Partition Expert
- In the main window click on D Drive and click Merge Volume from the sidebar
- In the merge volume window click to select a partition with enough free space, F Drive is the target, in my case, then specify the destination of merged volume, D Drive is my choice, and it’s also the default setting when you run this function from D Drive, then click OK to close this window and pend this operation
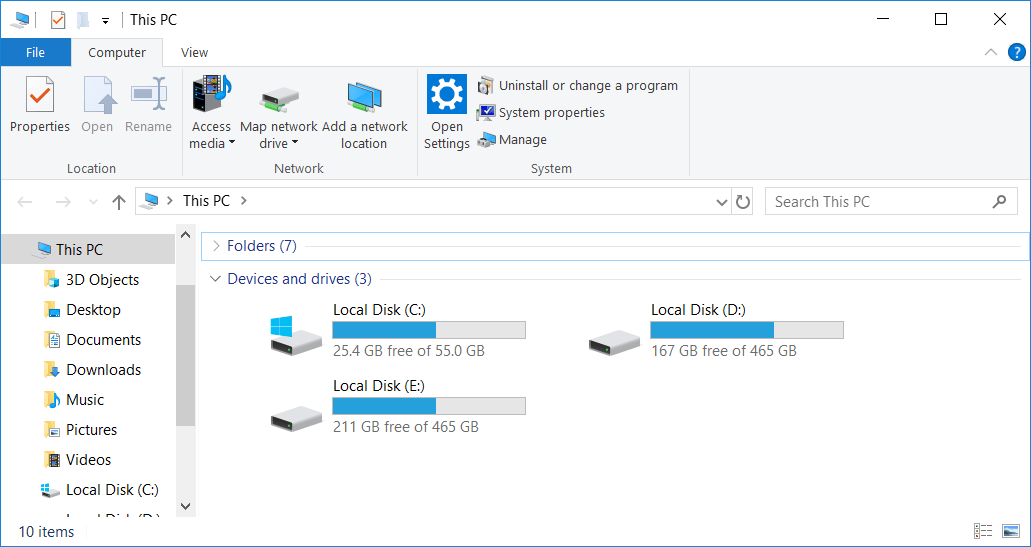
- Back to the main window click on the Commit button to apply the pending operation, which merges F to D, with for seconds, D Drive is enlarged and you’ll find there’s a new folder called ‘F’, since it’s empty, I can just delete this folder
Now open Windows Explorer again, D Drive is in the normal blue color and the computer runs smoothly again
NOTE: This method only works when F Drive adjacent to D Drive, if E Drive stands between D and F, this solution won't work
Extend Volume with unallocated space
I can also extend D Drive with unallocated space on the same disk, which is currently not available on my disk, how do I know there’s no such space? Windows Explorer won’t show it even it’s available. I checked the disk map in Partition Expert, the disk map section shows every detail of the disk, primary partition, logical partition, GPT or MBR disk, free space and unallocated space, disk specs are all in the disk map
Steps to extend volume in Partition Expert
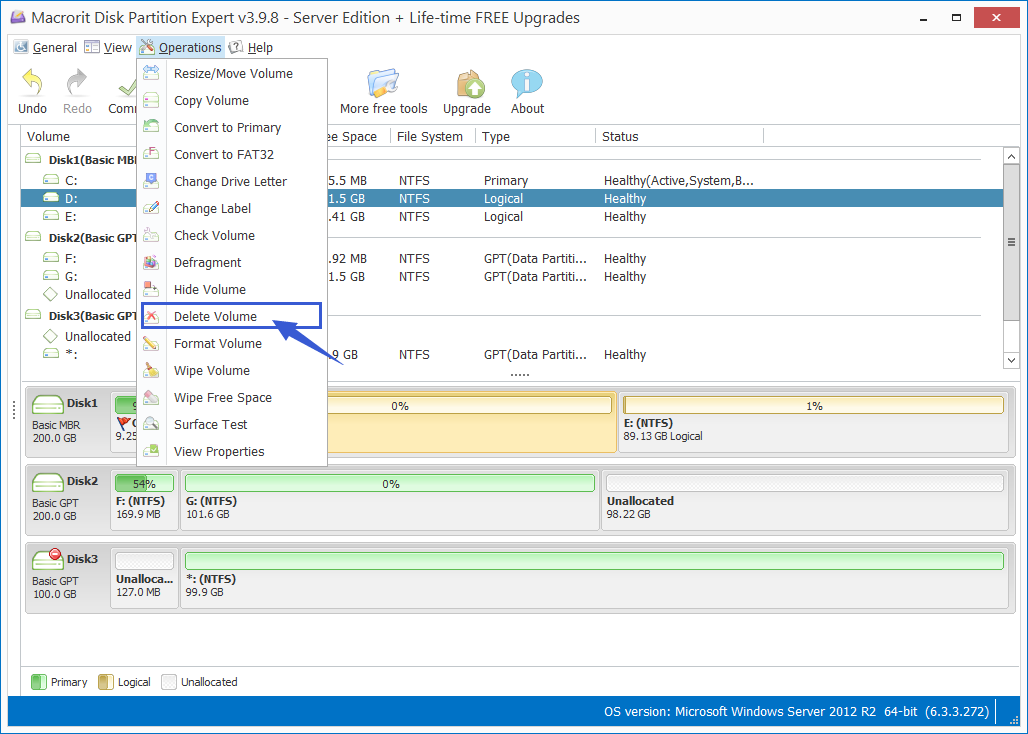
- Run Partition Expert from the portable package or the installed edition if you have installed it
- In the main interface we first click on F Drive (or any other drive on the same disk that is empty or has enough free space available), and click Delete Volume and a confirm message will show up to ask the permission, click ‘Yes’ and you’ll say it becomes unallocated space, that’s how we create unallocated space, we delete a partition or shrink a partition, so make sure important data has a backup before deleting, although it’s not a permanent deletion, any partition recovery software is able to bring it back, why don’t we save the effort (and this operation is also a virtual deletion, not applied unless you click the Commit button)
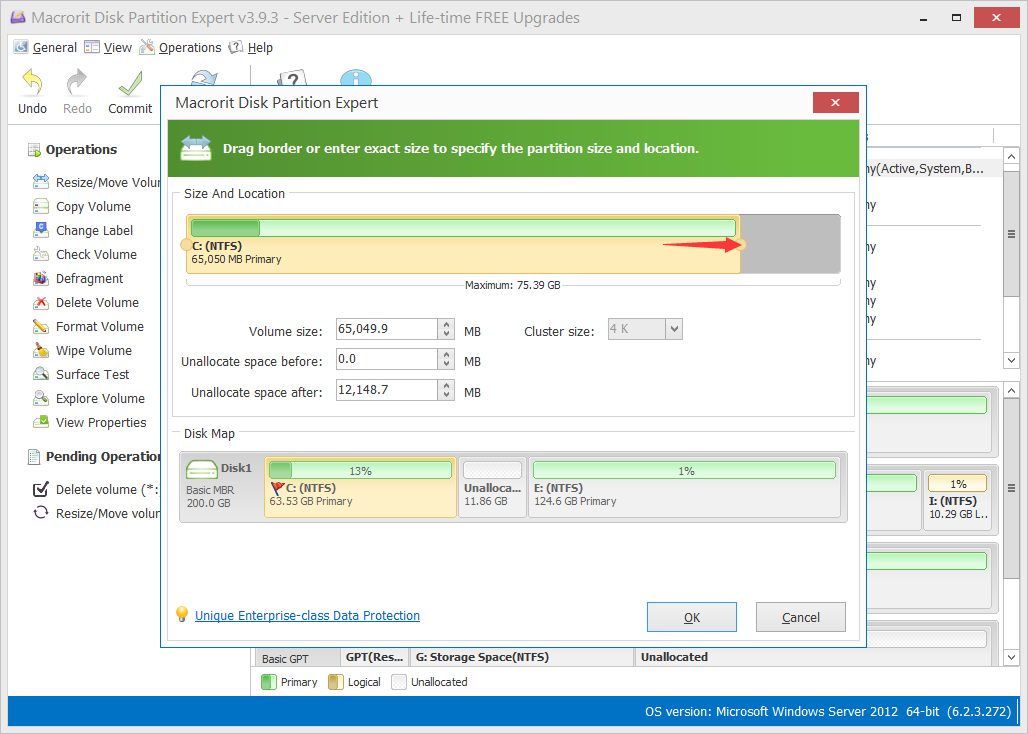
- Now click on D drive, it’s time to enlarge it, click on Resize/Move Volume function and in the resize window click on the handle at the right side, drag it to the end and you’ll see the unallocated space in merged into D drive in the preview section, the mini disk map, click OK to navigate to the main window, and you guessed it, click Commit
Then open Windows Explorer again, you’ll see the same result
Shrink Volume in Partition Expert
Maybe you don’t have an empty partition but a partition with much free space, you don’t want to backup or copy the data in that volume to external storage device either, then you can use the shrink volume function in Partition Expert to create unallocated space for a low-disk-spaced partition
Shrink one partition to extend another
This time I will shrink E Drive and Extend D Drive, in Disk Management, we can’t do that, since unallocated space shrank from E Drive is at the end of E Drive, not in front of it, the Extend Volume option is only active when unallocated space is right after the volume you’d like to extend, to put it simply, let’s say the diagram below:
Shrink Volume in Disk Management:
To activate Extend Volume in Disk Management, we need:
So we need a tool to move unallocated space from the end of E Drive to the head of it, it’s time to run Partition Expert, if you haven’t shrunk E Drive yet, we can start from the beginning, shrink it in Partition Expert instead
- In the first window of Partition Expert click on E Drive ( or any large partition with free space on the same disk, no need to be the partition right next to D Drive, any partition, F, G, H, is OK) and click ‘Resize/Move Volume’
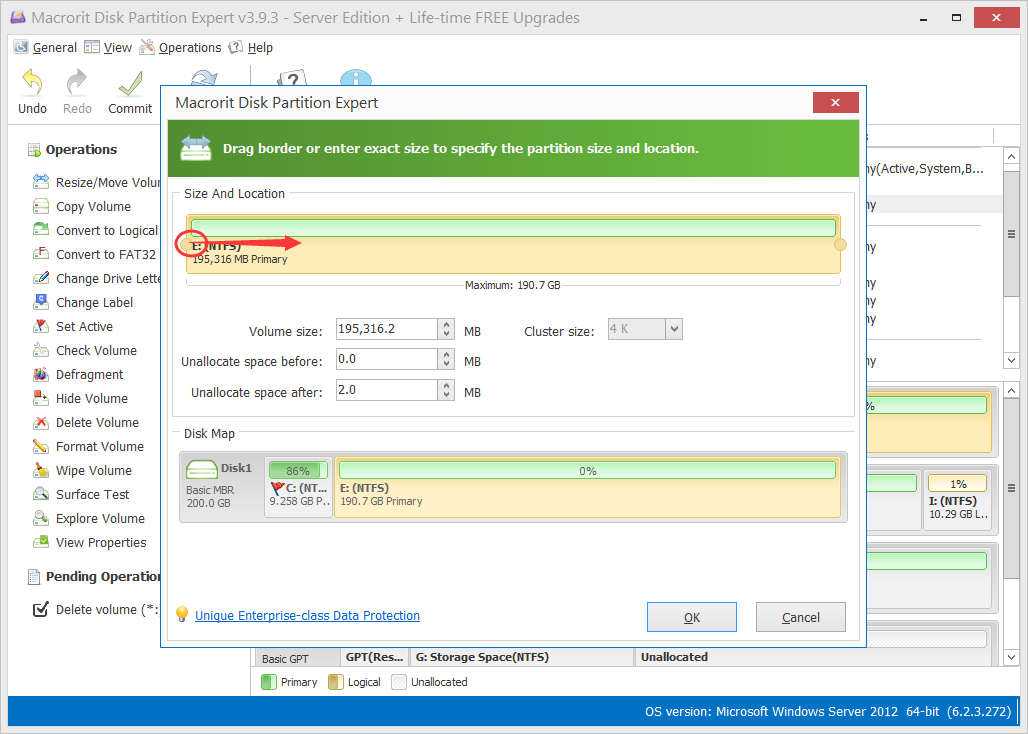
- In the resize window there’re two handlers at each side, they’re drag-gable, drag-inward when you want to shrink a volume, drag-outward when extending, we can either drag-inward the header handle or the footer-handle, the same effect, but drag the header one makes more sense if the partition we want to enlarge is ahead of the partition we’re currently shrinking, so we drag the header handle to the right, and the preview effect shows in the mini disk map, this partition is decreasing and meanwhile unallocated space size is increasing accordingly, click OK when we get enough free space from this volume to close this window (if you’re dragging the footer handle, don’t forget to drag the entire drive to the end before click OK)
- Now check the disk map to see if the unallocated space is next to D Drive or your target drive, if it’s not, use the resize move volume function on the partition that stands between D Drive and unallocated space, just drag the entire the change the position until we move them side to side, then we click resize move function again and in the resize D window, we drag the footer handle to consume this unallocated space, click OK and Commit
In the screenshots, I shrank E Drive and Extended C Drive instead, but you get the point
Summary
We can use a lot of methods to increase partition size, the default Disk Management and diskpart command line tool are good options for initialize partition and resize, but with time goes by and more data comes into disk, we’d like to resize a volume without formatting or deleting other partitions on the disk to create unallocated space or free space, we can use some partition manager programs instead, which shall have the ability to resize and move volume or partition without data loss and can do more than the default tools. In this page, the merge volume and resize move volume functions are the examples of increasing partition size, especially for the shrink large partition to extend small partition example, best explains resize move volume with data intact, guys, go ahead and download to fix the low disk space on Windows 10 problem