Extend Volume Still Grayed out
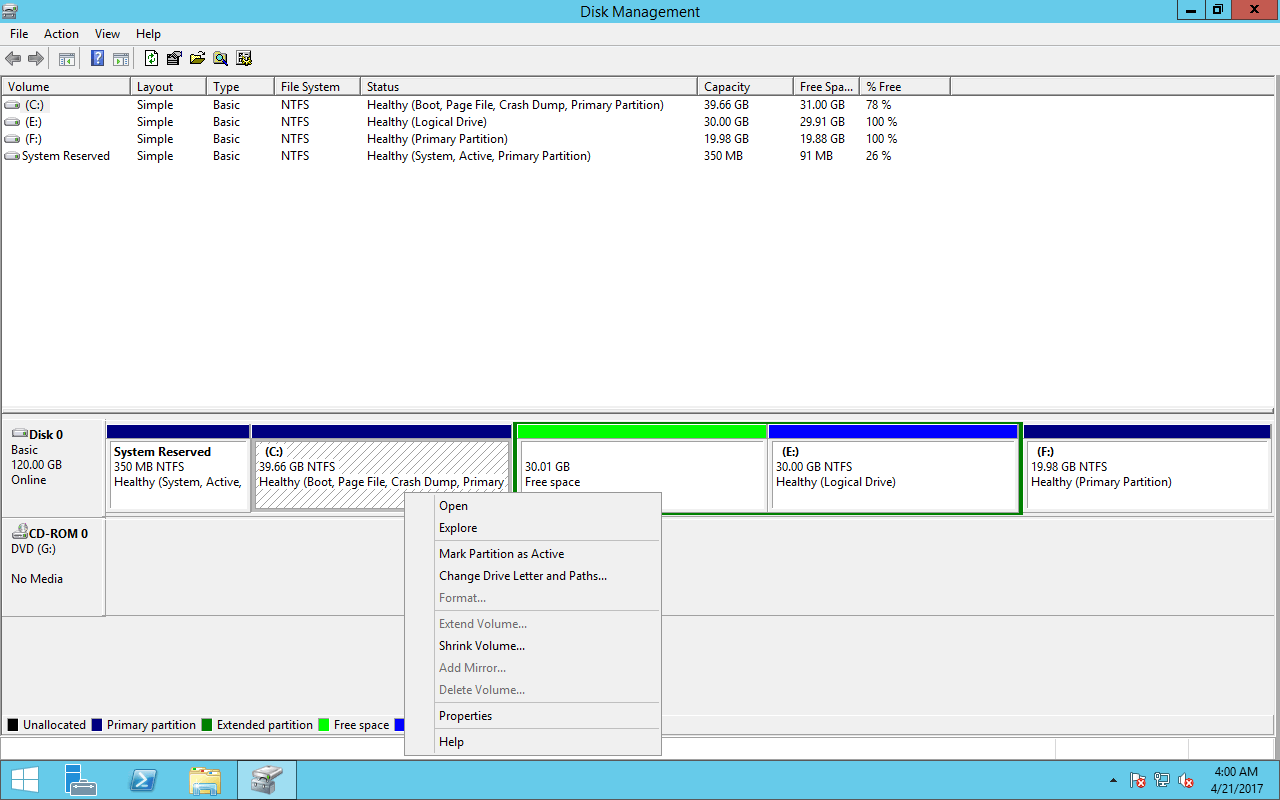
I know we got to have unallocated space after C Drive to get that drive extended, so I deleted D Drive, the partition next to it, to make space unallocated space, but all I get is a Free space, the green one, which still can’t active the Extend Volume option
The screen shot below I think is the problem described
The Reason
When deleting a logical volume on Extended partition, deleted space becomes Free space, while deleting a primary partition, deleted space turns to Unallocated space.
So, like the screenshot above, to active the Extend Volume of C Drive, you have to deleted all the logical partitions on Extended partition to make that area unallocated. The green border partitions are logical partitions;Unallocated space is blue while Free space is green in color.
Solutions
1. Convert Logical to Primary partition
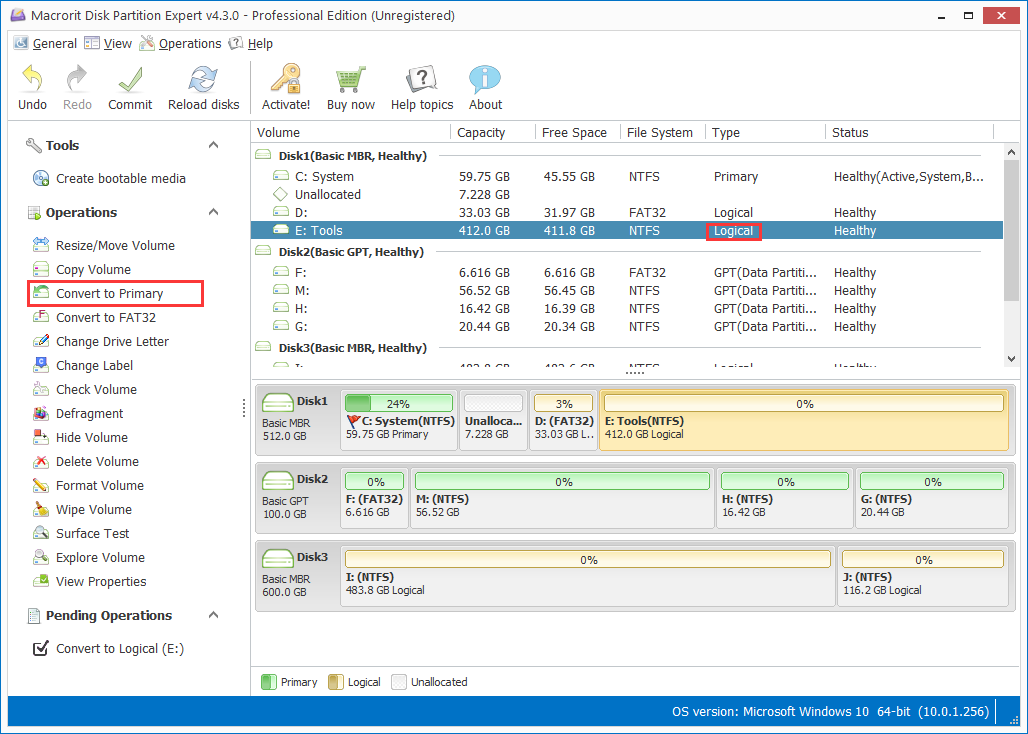
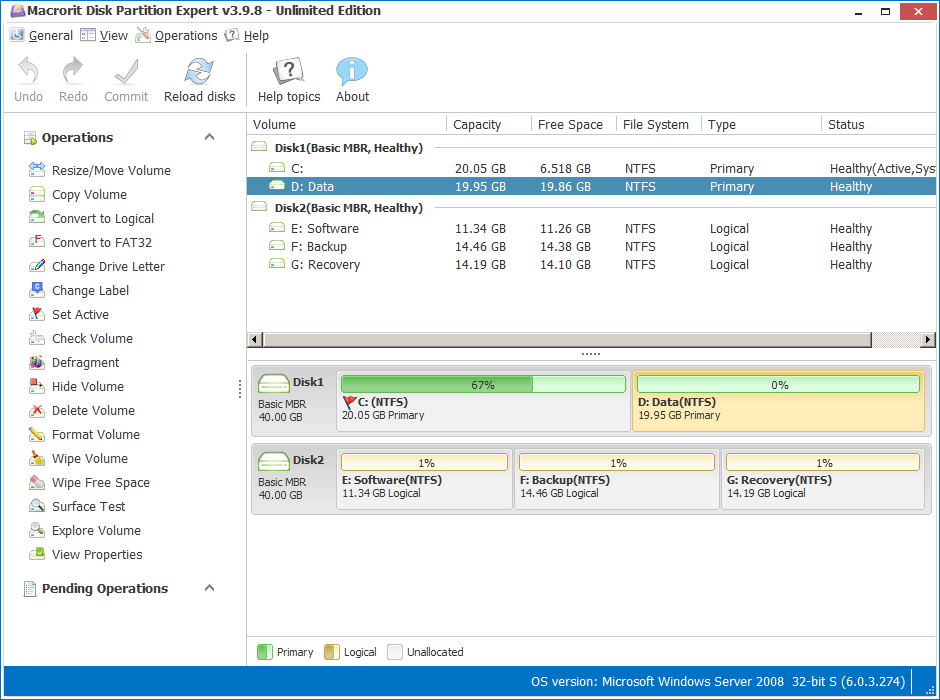
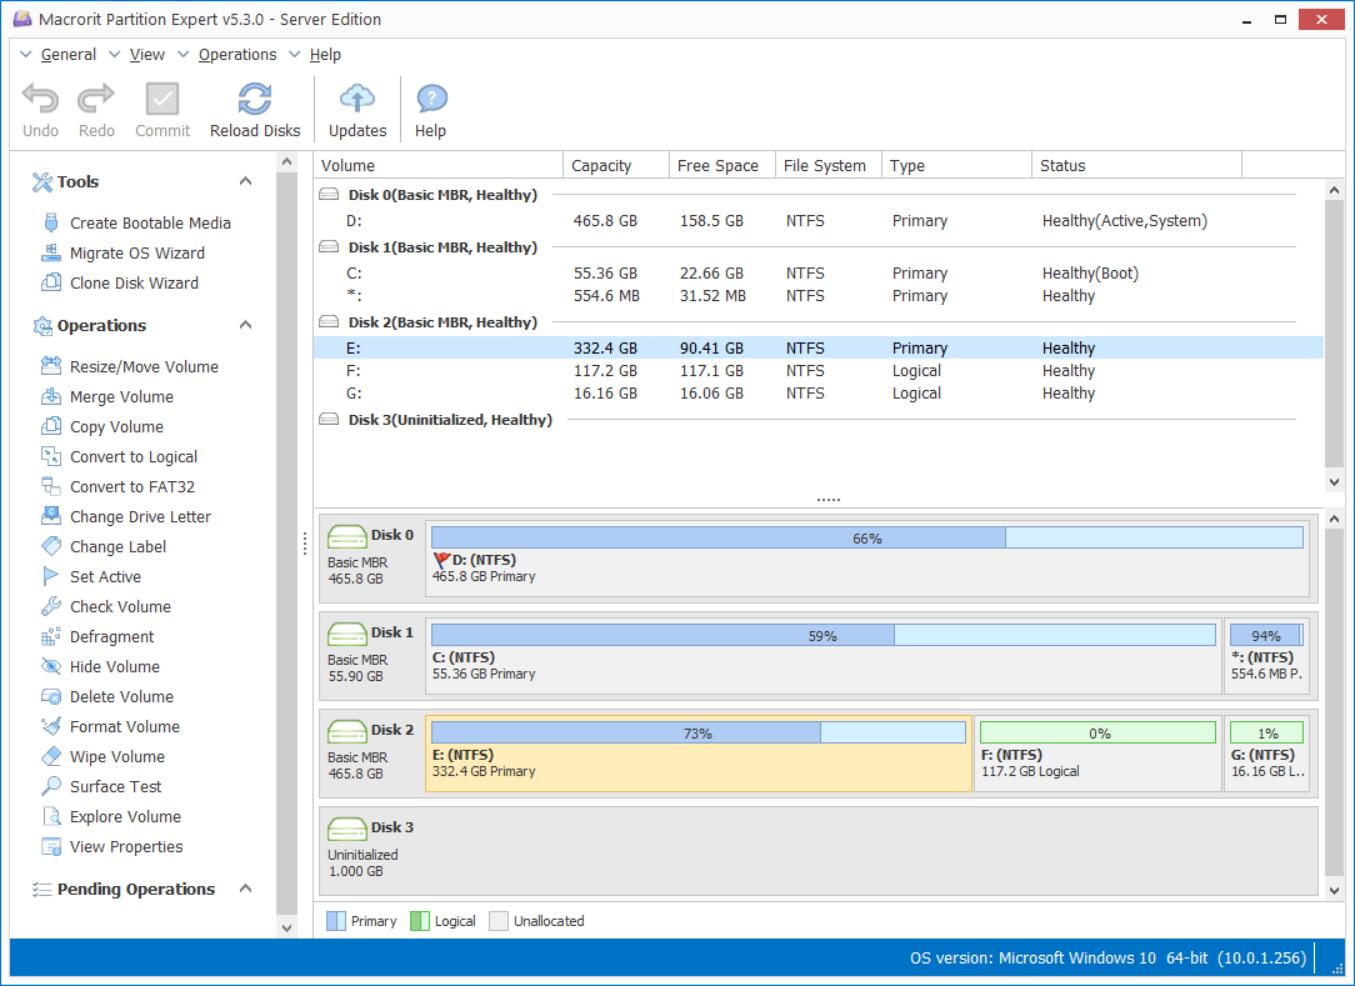
Before you delete D Drive to make free space, you can convert that logical partition to primary with 3rd-party disk managing software, eg, Partition Expert.
Steps to convert a logical partition to primary:
- Run Partition Expert 32-bit or 64-bit version from the portable package if you don’t want to install the program
- Click on the partition you want to convert, D Drive is the target in this example, and click Convert to Primary
- Click OK to confirm and Commit to apply the changes
Then open Disk Management to delete the volume, then you got an unallocated space, right-click on C Drive then will make the Extend Volume option active, follow the Extend Volume Wizard to increase C Drive capacity.
2. Resize C Drive with Partition Expert
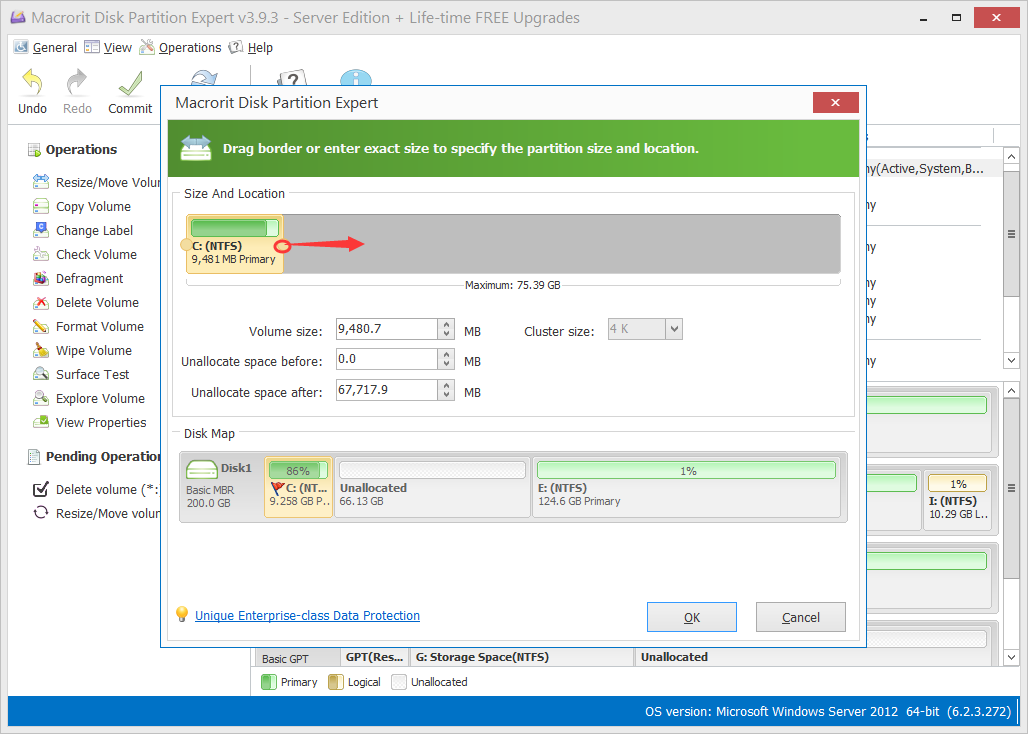
As mentioned above, Partition Expert is the all-in-one partition managing software and perfectly support Windows Server 2016, you can replace the default Disk Management tool without any worries, besides, you don’t have to delete any partition to create space unallocated, Partition Expert will just move free space to anywhere you wanted without harming data.
Steps to extend C Drive without deleting D Drive:
- Right-click on D Drive and choose Resize/Move Volume
- Drag the left handle in the resize window to the right to create unallocated space, then click OK to exit this window
- Click on C Drive and use the Resize/Move Volume function again to extend it, only to drag the right handle to the end of the bar.
And the final step is to confirm and commit, then you’ll have an extended C Drive without harming D Drive.
